Are you excited about creating stunning AI-generated videos but want to avoid cloud service limitations? The LTXV 13B model represents a significant breakthrough in open-source video generation, offering impressive quality that rivals commercial solutions. This comprehensive guide will walk you through installing and running this powerful AI video generator on your own computer, giving you complete control over your creative process.
Whether you're a developer, content creator, or AI enthusiast, this step-by-step tutorial covers everything from basic requirements to advanced configurations across Windows, macOS, and Linux systems.
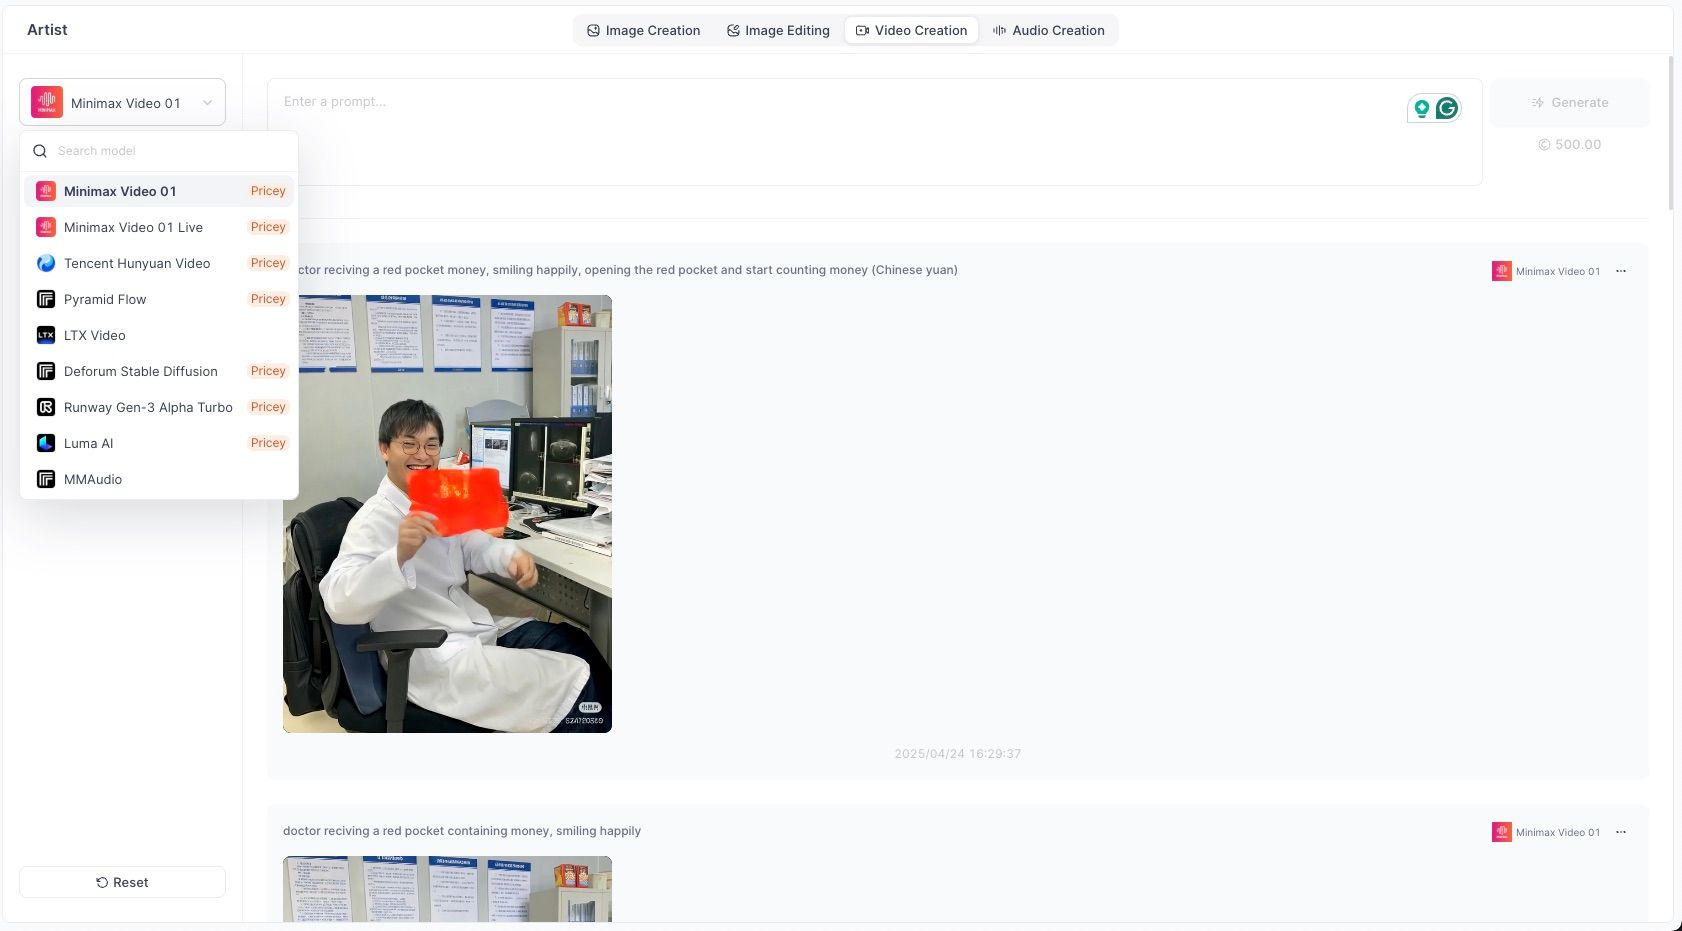
If you're excited to try AI video generation tools, you we love to explore Anakin AI, which offers access to multiple video generation models including Minimax Video, Tencent Hunyuan Video, and Runway ML integrations—all in one convenient platform without any installation hassle.
Before We Dive In: Essential Prep for Your LTXV 13B Install
Alright, before we roll up our sleeves and get into the nitty-gritty of the installation, let's do a quick "pre-flight check." Getting these foundational elements sorted out now will make the entire process much smoother and save you potential headaches down the line. It's like gathering all your ingredients and tools before you start baking a masterpiece!
VRAM: The Lifeblood of Your AI Engine
LTXV 13B is a sophisticated model, and like any high-performance engine, it needs sufficient fuel to run effectively. In the realm of AI, that fuel is Video RAM (VRAM), which is the dedicated memory on your graphics card.
- The Ideal Scenario (12GB+ VRAM): For running the full, uncompromised ltxv-13b-0.9.7-dev.safetensors model and achieving the best performance, a GPU with at least 12GB of VRAM is highly recommended. This will allow for smoother generation and more complex tasks.
- Workable with 8GB VRAM: Some users have reported success running LTXV 13B with 8GB of VRAM. However, you might experience slower generation times, or you may need to be more mindful of your settings, perhaps generating shorter clips or at lower resolutions.
- Low-VRAM Solutions (6-8GB): If your graphics card has more modest VRAM (say, in the 6-8GB range), don't despair! The AI community has clever solutions. Quantized models, specifically FP8 versions like ltxv-13b-0.9.7-dev-fp8.safetensors (or alternatives like Kijai's FP8 version found on Hugging Face), are designed to be much lighter on resources. These safetensors files are smaller and less demanding, making a low-vram install perfectly feasible.
Storage Space: Giving Your AI Creations Room to Grow
AI models, especially those designed for video generation, along with their associated files, can occupy a significant amount of disk space.
- Ensure you have a good chunk of free disk space available – aiming for at least 30-50GB is a safe bet. This will comfortably accommodate ComfyUI itself, the Python installation, the LTXV models (the full versions can be around 10-15GB each), essential text encoders, upscaler models, and any videos you generate.
A Stable Internet Connection
You'll be downloading several components, including software repositories from GitHub and those hefty model files from platforms like Hugging Face. A stable and reasonably fast internet connection will make this process much more pleasant and prevent frustrating interruptions.
Core Software Tools: Python and Git
These are the foundational software building blocks for our project.
- Python: LTXV 13B and ComfyUI generally perform best with Python version 3.10. We'll guide you through installing this specific version for each operating system.
- Git & Git LFS: Git is an essential version control system used for "cloning" (downloading and managing) software projects from repositories. Git LFS (Large File Storage) is a Git extension crucial for handling the very large model files commonly found on platforms like LTXV Huggingface.
With these prerequisites understood and hopefully in place, we can move on to the exciting part – the actual installation! We'll provide detailed, step-by-step instructions for macOS, Windows, and Linux.
macOS LTXV 13B Install Guide (Leveraging Apple Silicon)
For those of you using Apple Silicon Macs (M1, M2, M3, M4 series), this section will guide you through setting up LTXV 13B, taking advantage of Apple's Metal Performance Shaders (MPS) for GPU acceleration.
Step 1: Install Homebrew (The Missing Package Manager)
If you don't already have Homebrew, it's an invaluable tool for installing software on macOS.
- Open your Terminal application (you can find it in Applications > Utilities, or search for it with Spotlight).
Copy the following command, paste it into your Terminal, and press Enter:
/bin/bash -c "$(curl -fsSL https://raw.githubusercontent.com/Homebrew/install/HEAD/install.sh)"
- Follow any on-screen prompts to complete the installation. Homebrew might ask for your password.
Step 2: Install Python 3.10
As mentioned, Python 3.10 is our target version.
brew install python@3.10
Homebrew will download and install Python 3.10.
Step 3: Install Git and Git LFS
These are necessary for downloading ComfyUI and the model files.
brew install git git-lfs
git lfs install
The git lfs install command initializes Git LFS for your user account, enabling it to handle large files correctly.
Step 4: Create Your Project Directory and Virtual Environment
It's good practice to keep your projects organized and their dependencies isolated.
- Create a dedicated directory for your LTXV project and navigate into it:
mkdir LTXV_ComfyUI_Project
cd LTXV_ComfyUI_Project
- Create a Python virtual environment. This creates an isolated space for this project's Python packages, preventing conflicts with other projects or your system's Python installation.
python3.10 -m venv venv
source venv/bin/activate
You'll know the virtual environment is active when you see (venv) at the beginning of your terminal prompt.
Step 5: Install PyTorch with MPS Support
PyTorch is the deep learning framework that LTXV 13B is built upon.
LTXV requires PyTorch 2.3.0 or a newer version for optimal MPS support. It's generally best to install the latest stable version. You can always check the official PyTorch website for the most current installation command for macOS, or use the general command:
pip install torch torchvision torchaudio
- This command will download and install PyTorch and its related libraries into your active virtual environment.
Step 6: Clone the ComfyUI Repository
Now, let's get ComfyUI itself. We'll clone it from its official GitHub repository.
git clone https://github.com/comfyanonymous/ComfyUI.git
cd ComfyUI
This downloads the ComfyUI code into a new ComfyUI folder and changes your current directory into it.
Step 7: Install ComfyUI Dependencies
With your virtual environment still active and inside the ComfyUI directory, install the Python packages ComfyUI needs:
pip install -r requirements.txt
Step 8: Install the ComfyUI Manager (Highly Recommended!)
The ComfyUI Manager is an extremely useful extension that simplifies installing and managing custom nodes (like the ones for LTXV).
- Navigate to ComfyUI's custom nodes directory:
cd custom_nodes - Clone the ComfyUI Manager repository into this directory:
git clone https://github.com/ltdrdata/ComfyUI-Manager.git - Return to the main ComfyUI directory:
cd ..
Step 9: First Launch of ComfyUI & Installing LTXV Nodes
Run ComfyUI. The --force-fp16 flag can sometimes improve performance on Macs by forcing calculations into 16-bit floating-point precision, but you can also try running it without this flag.
python main.py --force-fp16
- Open your web browser (like Safari or Chrome) and navigate to http://127.0.0.1:8188. You should see the ComfyUI interface load.
- If the ComfyUI Manager installed correctly, you'll see a "Manager" button in the ComfyUI interface. Click it.
- In the Manager menu, click "Install Custom Nodes."
- Use the search bar to find ComfyUI-LTXVideo. This is the official node package from Lightricks, often linked from their LTXV GitHub or Hugging Face page. Click "Install."
- It's also highly recommended to install ComfyUI-VideoHelperSuite. Search for it and click "Install." This suite provides many useful utilities for video workflows.
- Crucial Step: After installing new nodes, you must restart ComfyUI. Close the terminal window where ComfyUI is running (Ctrl+C usually works), and then run python main.py --force-fp16 again from the ComfyUI directory.
Step 10: Download LTXV 13B Model Files & Necessary Encoders
This is where you acquire the actual AI "brains." You'll need to download these from the Lightricks LTX-Video Hugging Face page.
- LTXV 13B Model:
- For full quality (if you have >12GB VRAM): ltxv-13b-0.9.7-dev.safetensors
- For lower VRAM setups: ltxv-13b-0.9.7-dev-fp8.safetensors
- Place these downloaded .safetensors files into the ComfyUI/models/checkpoints/ directory.
- Text Encoders: These models help LTXV understand your text prompts.
- T5 Encoders: Download t5xxl_fp16.safetensors (or fp8 variants like t5xxl_fp8_e4m3fn.safetensors if you're using the FP8 LTXV model). These are often linked from LTXV documentation or can be found on Hugging Face. Place these into ComfyUI/models/clip/.
PixArt Text Encoder: This encoder is typically obtained by cloning its repository. In your terminal (ensure your venv is active and you're in your main project directory, not ComfyUI):
cd path/to/your/LTXV_ComfyUI_Project/ComfyUI/models/
mkdir -p text_encoders # Creates the directory if it doesn't exist
cd text_encoders
git clone https://huggingface.co/PixArt-alpha/PixArt-XL-2-1024-MS
cd ../../.. # Navigate back to your project's ComfyUI directory
- Upscaler Models: For enhancing the resolution of your generated videos. Download ltxv-spatial-upscaler-0.9.7.safetensors and ltxv-temporal-upscaler-0.9.7.safetensors from the Lightricks Hugging Face page.
- Place these into ComfyUI/models/upscale_models/.
Step 11: Install FFmpeg (If Video Saving Issues Occur)
ComfyUI relies on FFmpeg to process and save video files. If you encounter errors when trying to save your generated videos:
brew install ffmpeg
Step 12: Run ComfyUI and Start Creating!
- From the main ComfyUI directory (with your venv active), start ComfyUI: python main.py --force-fp16.
- Load an example LTXV ComfyUI workflow. You can find these JSON files in the ComfyUI-LTXVideo/example_workflows directory (e.g., ltxv-13b-i2v-base.json for image-to-video, or ltxv-13b-i2v-base-fp8.json if you're using the FP8 LTXV model). Simply drag and drop the JSON file onto the ComfyUI interface in your browser.
- Modify the prompts, input images (for LTX image to video workflows), and other settings as desired, then click "Queue Prompt" to start generating!
macOS users, you're all set! Take a moment to appreciate your setup, and then we'll move on to Windows.
Windows LTXV 13B Install Guide (Harnessing NVIDIA Power)

Windows users, especially those with NVIDIA GPUs, this section is your comprehensive guide to getting the LTX video generator up and running locally!
Step 1: Install Python 3.10
- Navigate to the official Python website's download page for Windows. Download an installer for a Python 3.10.x version.
- Very Important: During the installation process, ensure you check the box that says "Add Python 3.10 to PATH." This makes Python accessible from the command line without extra configuration.
Step 2: Install Git for Windows
- Download Git for Windows from the official Git website.
- Run the installer. During the installation, make sure to include "Git LFS (Large File Storage)" as one of the components to be installed.
Step 3: Install NVIDIA CUDA Toolkit (Essential for GPU Acceleration)
If you have an NVIDIA GPU, the CUDA Toolkit allows software like PyTorch to utilize your GPU for computation, drastically speeding things up.
- Go to the NVIDIA CUDA Toolkit download page.
- Download and install a version compatible with PyTorch and your GPU. LTXV was tested with CUDA 12.2, but CUDA 12.1 or newer generally works well. The PyTorch installation selector (next step) will also guide you on compatible CUDA versions.
Step 4: Set Up Your Project Directory & Virtual Environment
- Open Command Prompt (cmd) or PowerShell.
- Create a project directory: mkdir LTXV_ComfyUI_Project
- Navigate into it: cd LTXV_ComfyUI_Project
- Create a Python virtual environment: python -m venv venv
- Activate the virtual environment: .\venv\Scripts\activate
You should see (venv) prepended to your command prompt, indicating the environment is active.
Step 5: Install PyTorch with CUDA Support
- Visit the official PyTorch website's local installation page.
- Use the selector to choose your preferences: Stable, Windows, Pip, Python, and your installed CUDA version (e.g., CUDA 12.1).
Copy the generated installation command. It will look similar to this (ensure it matches your CUDA version):
pip3 install torch torchvision torchaudio --index-url https://download.pytorch.org/whl/cu121
- Run this command in your activated virtual environment.
Step 6: Get ComfyUI (Clone or Use Standalone Package)
Option A: Cloning (Recommended for more control and updates):
git clone https://github.com/comfyanonymous/ComfyUI.git
cd ComfyUI
- Option B: Standalone Package: ComfyUI also offers a Windows standalone package that comes with an embedded Python environment. If you choose this, download and extract it. The setup for custom nodes and models will be similar, but some paths might differ slightly.
Step 7: Install ComfyUI Dependencies
If you cloned ComfyUI and are using your own virtual environment (as created in Step 4):
pip install -r requirements.txt
(If you're using the standalone ComfyUI package, this step might be handled internally by its scripts.)
Step 8: Install the ComfyUI Manager
- Navigate to the custom_nodes directory within your ComfyUI installation (e.g., cd custom_nodes if you cloned).
Clone the ComfyUI Manager repository:
git clone https://github.com/ltdrdata/ComfyUI-Manager.git
- Return to the main ComfyUI directory: cd ..
Step 9: First Launch & Install LTXV Nodes via Manager
- Run ComfyUI:
- If you cloned: python main.py
- If using the standalone package: Use the provided .bat file (e.g., run_nvidia_gpu.bat).
- Open http://127.0.0.1:8188 in your web browser.
- Click the "Manager" button, then "Install Custom Nodes."
- Search for ComfyUI-LTXVideo and click "Install."
- Search for ComfyUI-VideoHelperSuite and click "Install."
- Restart ComfyUI (close the terminal/script and re-run it) for the new nodes to be loaded.
Step 10: Download LTXV 13B Model Files & Encoders
This process is identical to macOS Step 10. This is a crucial part of your LTXV 13B download and setup.
- LTXV 13B Model (.safetensors): Full or FP8 version into ComfyUI\models\checkpoints\.
- Windows Low-VRAM Tip: Consider Kijai's FP8 quantized model from Hugging Face. It can sometimes be an easier setup than the official FP8 if you encounter issues with the Q8 kernel build (see next step).
- Text Encoders:
- T5 (.safetensors) into ComfyUI\models\clip\.
- PixArt (git clone ...) into ComfyUI\models\text_encoders\. (Follow macOS Step 10 for the git clone command, adapting paths for Windows if needed, e.g., cd ComfyUI\models\text_encoders && git clone ...).
- Upscaler Models (.safetensors): Into ComfyUI\models\upscale_models\.
Step 11: (Optional but Recommended for Official FP8 Model) Install LTX-Video-Q8-Kernels
This step enables optimal performance for the official ltxv-13b-0.9.7-dev-fp8.safetensors model by installing its specific quantization kernels.
- Prerequisites: This can be complex. It requires a CUDA 12.8+ compatible GPU (often RTX 40xx series or newer) and Microsoft C++ Build Tools (which can be installed via the Visual Studio Installer – select the "Desktop development with C++" workload).
- If you meet the prerequisites and choose to proceed:
- Ensure your ComfyUI venv is active.
Clone the repository:
git clone https://github.com/Lightricks/LTX-Video-Q8-Kernels.git
cd LTX-Video-Q8-Kernels
Install the kernels:
python setup.py install
- If this step proves too challenging, Kijai's FP8 model is a solid alternative that often works without needing these custom kernels, simplifying your low-vram install.
Step 12: Run ComfyUI and Unleash Your Video Creations!
- Start ComfyUI (python main.py or by running the appropriate .bat script).
- Load an LTXV workflow JSON file (from ComfyUI-LTXVideo/example_workflows) into the ComfyUI interface and begin generating your unique LTX AI video content!
Windows installation complete! Now, let's cover our Linux users.
Linux LTXV 13B Install Guide (Embracing Open-Source Flexibility)
Linux users, welcome! The process for installing LTXV 13B on Linux is robust, leveraging the command line and the flexibility of the Linux environment.
Step 1: Install Python, Git, and Build Essentials
Use your distribution's package manager. For Debian/Ubuntu-based systems:
sudo apt update
sudo apt install python3.10 python3.10-venv python3-pip git git-lfs build-essential
git lfs install --system # or --user
The build-essential package (or its equivalent like base-devel on Arch Linux) provides compilers and tools that might be needed for some Python packages or the optional Q8 kernels.
Step 2: Install NVIDIA CUDA Toolkit
Follow the official NVIDIA documentation for installing the CUDA Toolkit on your specific Linux distribution. This typically involves adding NVIDIA's software repositories and then installing the appropriate drivers and toolkit version using your package manager.
Step 3: Set Up Your Project Directory & Virtual Environment
mkdir LTXV_ComfyUI_Project && cd LTXV_ComfyUI_Project
python3.10 -m venv venv
source venv/bin/activate
Step 4: Install PyTorch with CUDA Support
Visit the PyTorch website's local installation page. Select Linux, Pip, Python, and your installed CUDA version, then run the provided installation command in your activated virtual environment. For example, with CUDA 12.1:
pip3 install torch torchvision torchaudio --index-url https://download.pytorch.org/whl/cu121
Step 5: Clone the ComfyUI Repository
git clone https://github.com/comfyanonymous/ComfyUI.git
cd ComfyUI
Step 6: Install ComfyUI Dependencies
pip install -r requirements.txt
Step 7: Install the ComfyUI Manager
cd custom_nodes
git clone https://github.com/ltdrdata/ComfyUI-Manager.git
cd ..
Step 8: First Launch & Install LTXV Nodes via Manager
- Run ComfyUI: python main.py
- Open http://127.0.0.1:8188 in your web browser.
- Use the Manager (click "Manager" button -> "Install Custom Nodes") to find and install ComfyUI-LTXVideo and ComfyUI-VideoHelperSuite.
- Restart ComfyUI (Ctrl+C in terminal, then python main.py again).
Step 9: Download LTXV 13B Model Files & Encoders
This is the same procedure as detailed in macOS Step 10 / Windows Step 10. Ensure you download the LTXV 13B model (.safetensors), T5 text encoders (.safetensors), clone the PixArt text encoder repository, and download the upscaler models (.safetensors) from the Lightricks LTX-Video Hugging Face page. Place them in their respective ComfyUI/models/ subdirectories (checkpoints, clip, text_encoders, upscale_models). This LTXV 13B download step is vital.
Step 10: (Optional) Install LTX-Video-Q8-Kernels
This is the same as Windows Step 11, but for Linux. Ensure build-essential (or your distribution's equivalent for C++ compilers) is installed.
- Activate your venv.
- Clone the repository: git clone https://github.com/Lightricks/LTX-Video-Q8-Kernels.git
- Navigate into the directory: cd LTX-Video-Q8-Kernels
- Install the kernels: python setup.py install
Again, if this proves problematic, an alternative FP8 model (like Kijai's) can simplify your low-vram install.
Step 11: Run ComfyUI and Start Your Video Generation Journey!
- Start ComfyUI from its main directory: python main.py.
- Load an LTXV ComfyUI workflow JSON file and begin experimenting with powerful ComfyUI video generation!
Why is LTXV 13B Generating So Much Excitement?
You've gone through the comprehensive LTXV 13B install process, but what makes this particular LTX video generator stand out in the rapidly evolving AI landscape?
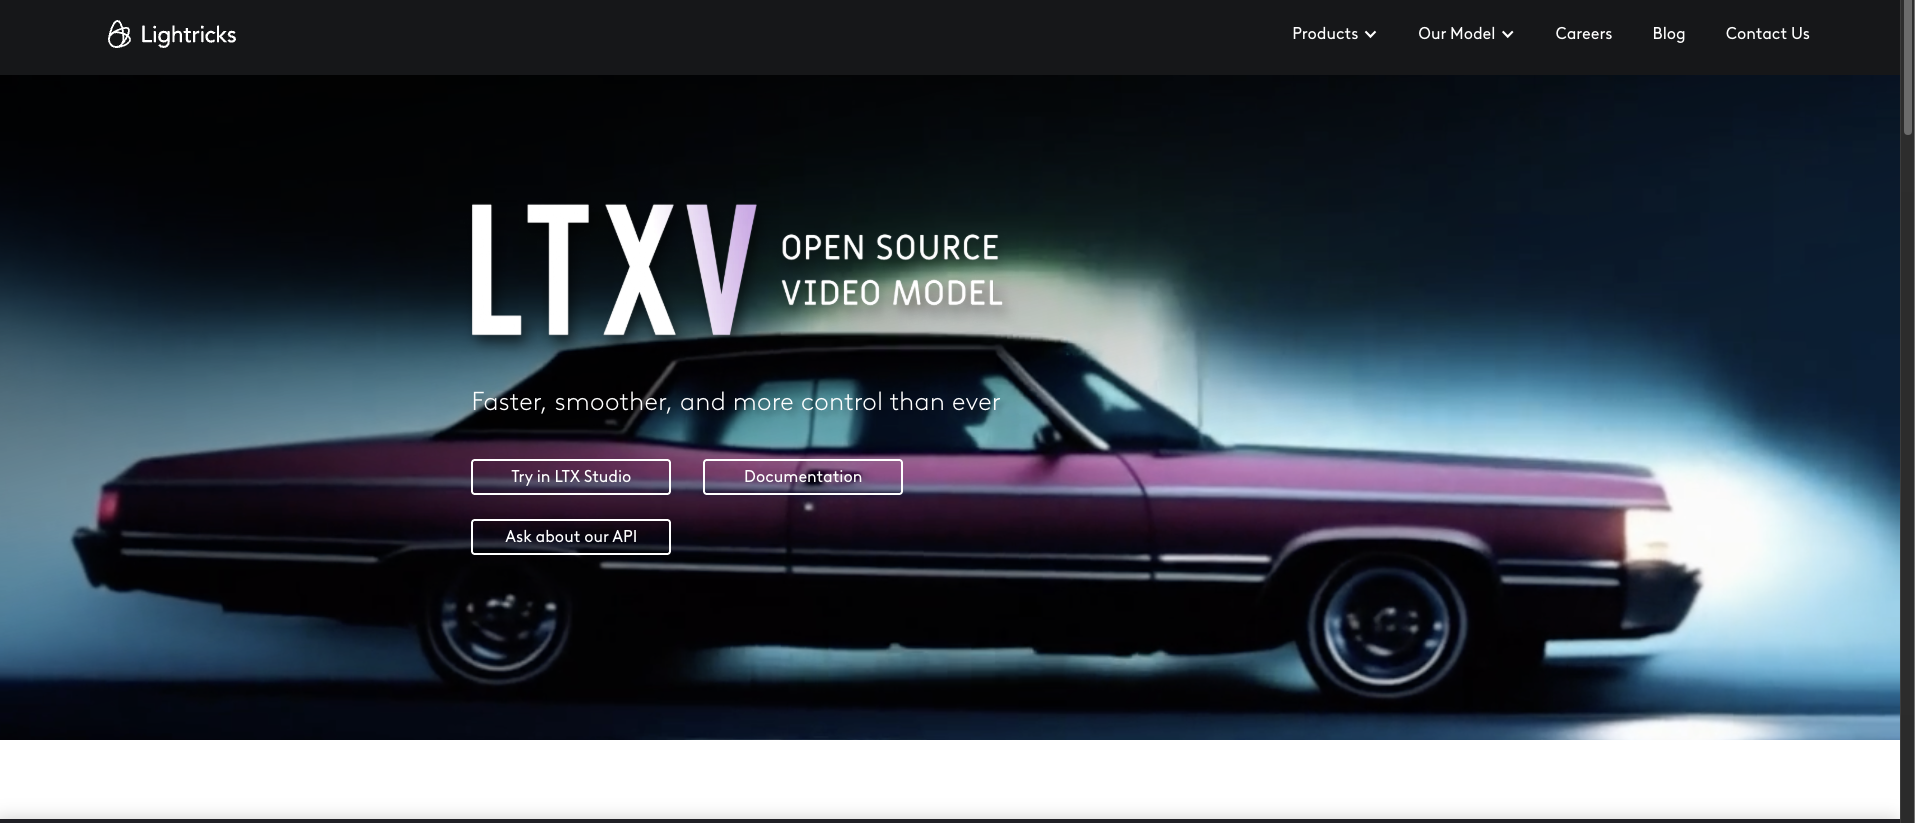
- The Spirit of Open Source: LTXV 13B, developed by the talented team at Lightricks, is an open-source AI video model. This is incredibly significant because it allows the global community of developers and researchers to inspect its architecture, modify it, and build upon its foundations. This collaborative approach fosters rapid innovation and democratizes access to powerful AI tools. You can find its main repository and contribute or learn more on GitHub (Lightricks/LTX-Video).
- Exceptional Video Quality: LTXV 13B is engineered to produce high-fidelity, coherent, and visually appealing video content. Whether you're starting from a detailed text prompt or using an existing image as a base for LTX image to video generation, the results can be remarkably impressive, often exhibiting a strong understanding of motion and aesthetics.
- Seamless Integration with ComfyUI: The synergy between LTXV 13B and ComfyUI is a major advantage. ComfyUI's node-based interface allows for intricate and highly customizable LTXV ComfyUI workflows. You can chain different models, precisely control various generation parameters, and experiment with complex pipelines in a way that more rigid, black-box AI tools simply don't allow. This offers unparalleled creative freedom.
- Continuous Development and Improvement: The AI field moves at lightning speed, and LTXV 13B is no exception. The model and its associated ComfyUI nodes are actively being updated by Lightricks and the community, with improvements, bug fixes, and new features appearing regularly. Keeping an eye on the LTXV Huggingface page and the LTXV GitHub for ComfyUI-LTXVideo is always a good idea to stay abreast of the latest advancements.
LTXV 13B isn't just another AI model; it's a testament to the power of open-source collaboration and a tool that puts serious video creation capabilities into the hands of anyone willing to explore it. It's a fantastic example of how far text-to-video GitHub projects have progressed, often rivaling or even surpassing proprietary systems in certain aspects.
Navigating Bumps in the Road: Troubleshooting and Final Tips
- VRAM is Often the Culprit: If you encounter "out of memory" errors, insufficient VRAM is the most common cause. Try using the FP8 quantized models, reducing the resolution or duration of your videos, or decreasing the batch size in your ComfyUI workflow.
- Consult the Console: The terminal window where ComfyUI is running is your friend! It often provides valuable error messages and clues if something isn't working correctly.
- Refer to Official Documentation: When in doubt, the official GitHub repositories for ComfyUI, ComfyUI-LTXVideo, and the main LTX-Video project are your primary sources for up-to-date instructions, known issues, and troubleshooting advice. The LTXV Huggingface page is also an invaluable resource.
- Leverage Community Knowledge: Don't hesitate to search online forums like Reddit (specifically subreddits like r/StableDiffusion or r/ComfyUI) if you get stuck. It's highly probable that someone else has encountered and solved a similar issue.
Conclusion: Your LTXV 13B Creative Journey Awaits!
Congratulations! You've successfully navigated the detailed LTXV 13B install process, familiarizing yourself with safetensors, text encoders, and the dynamic environment of ComfyUI video generation. Whether you're on macOS, Windows, or Linux, you now have an exceptionally powerful LTX video generator at your command. This LTXV 13B tutorial aimed to demystify the setup and empower you with the knowledge to get started.
The landscape of AI video is evolving at a breathtaking pace, and tools like LTXV 13B are at the vanguard of this creative revolution. With the technical setup complete, the truly exciting part begins: creation. What narratives will you weave? What fantastical scenes will you bring to life? What artistic boundaries will you push with your newfound LTX AI video capabilities?
Go forth, experiment with passion, and create something extraordinary. The digital canvas is vast, your imagination is the only limit, and LTXV 13B is ready to respond to your vision. What incredible videos will you generate first?
from Anakin Blog http://anakin.ai/blog/404/
via IFTTT


No comments:
Post a Comment